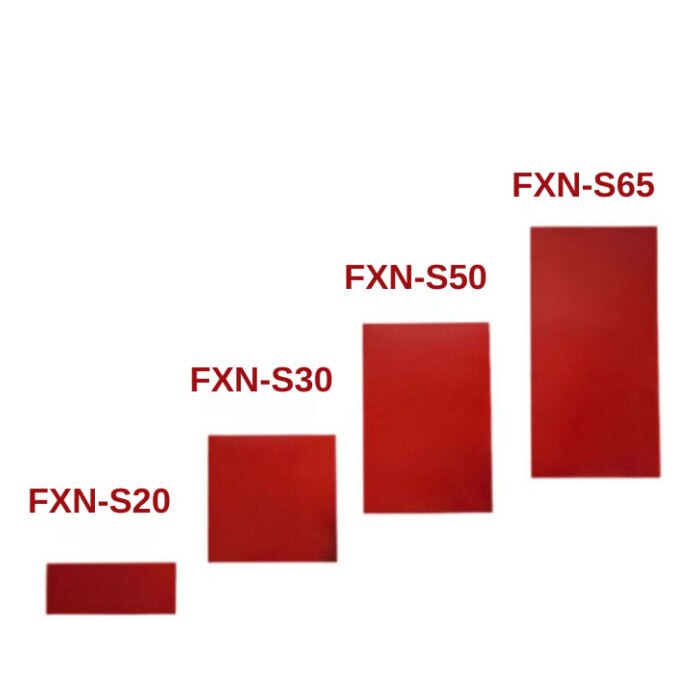

FXN Automatic Fire Suppression Sticker - 5.91" x 3.94"
Item#: FXN-S50
Description
FXN-S50 Automatic Fire Safety Solution for Enclosures
The FXN Sticker series provides an innovative, cost-effective fire suppression solution designed for electrical enclosures of all sizes. Powered by advanced nanotechnology, each FXN Sticker is heat-sensitive and activates automatically at 248±9°F (120±5°C), suppressing early-stage fires instantly with an eco-friendly, residue-free clean agent. Reliable and maintenance-free, this solution is perfect for safeguarding high-risk environments housing valuable equipment.
FXN Sticker Applications
FXN Stickers are designed for enclosures up to 2.3 cubic feet (65 liters), making them ideal for use in:
- Electrical enclosures
- Data centers and server rooms
- Marine and aerospace systems
- Industrial machinery and control panels
- Hospitals and medical equipment
The compact size and efficiency ensure dependable fire suppression at the early stages in critical environments.
Features
Benefits and Features
- Automatic fire suppression
- UL Recognized
- Non-conductive and residue-free
- Lightweight, easy to install, and maintenance-free
- Cost-effective and environmentally friendly
Specification
How It Works
The FXN Sticker utilizes a fire suppression mechanism that activates at 248°F (120°C). Upon reaching this temperature, the sticker releases a clean, non-residue fire-suppressing agent. This agent rapidly vaporizes, absorbing heat and effectively extinguishing the fire without leaving residue or causing damage.
FXN Sticker Installation Instructions
1. Environmental Safety
- Ensure the electrical enclosure is completely safe to access and the electrical power to the enclosure is disconnected before installing the FXN Sticker.
- Do not place the FXN Sticker on a hot surface or in an environment where the ambient temperature exceeds 248±9°F (120±5°C).
2. Surface Cleaning
- Clean the ceiling surface.
- Ensure the surface is dry and free of dust, grease, contaminants, and lubricants.
- Use a lint-free cloth to wipe the surface clean.
3. Adhesive Backing Removal
- Peel the protective paper off the adhesive side of the sticker, being careful not to touch the adhesive side.
- Position the sticker on the desired and prepared surface inside the ceiling of the enclosure.
4. Sticker Positioning
- Starting from the center, press the sticker onto the surface and smooth it outwards to remove any air bubbles.
- Firmly press the sticker onto the surface, ensuring full adhesion.
5. Final Steps
- Labeling: Ensure you label the installation date with a 5-year shelf life (expiration).
- Replace the sticker after 5 years or after activation.